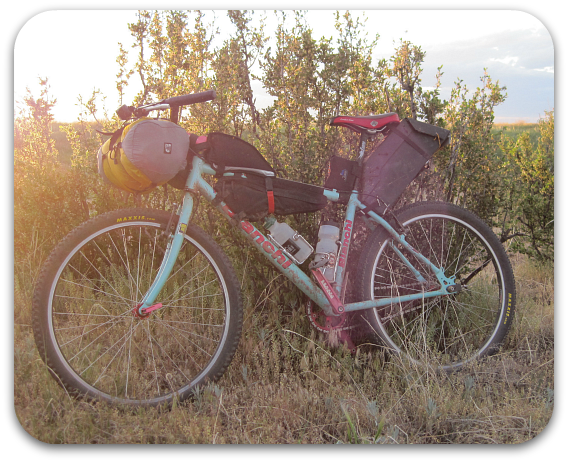
So you’re ready to try out bikepacking, but don’t want to invest in lots of new gear? I’ve been there and you can get started without spending a fortune on bikepacking specific gear.
If you have done any camping or backpacking in the past, you probably have most of what you will need. It won’t be the lightest or most efficient gear, but you’ll be able o get out and enjoy the world of bikepacking.
Rule #1 – Use What Ya Got
The number 1 rule for getting started is to “use what ya got”. Don’t worry about finding the lightest gear to start or trying to mimic the setup of some Tour Divide racers. Instead, keep in mind that bikepacking is about the adventure, not the gear. You can always upgrade your gear once you have a few bikepacking trips under your belt.
It’s ok to start with a 5 pound sleeping bag because you can always go lighter if you enjoy bikepacking. From my first test trip to my current setup, I’ve dropped at least 5-10 pounds of gear weight, but I’ve also spent hundreds of dollars in the process of getting a lighter setup.
Borrow Gear If Possible
If you have a friend that’s into bikepacking, go with them and see if you can borrow some of their gear. They are likely to have a few extra pieces they can lend you for a first trip.
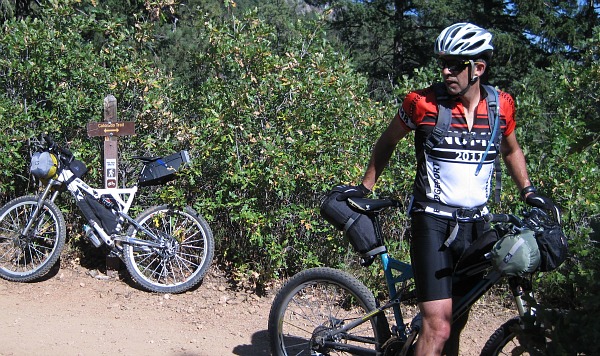
Last year, my friend Shawn and I went on an overnight trip that was his first experience with bikepacking. We split my bikepacking kit between us and then followed some of the gear options listed below to round out each of our kits. This allowed him to test out bikepacking without spending any money on gear.
Basic Gear Requirements
This list assumes you don’t have any existing gear and can’t borrow any gear. If you have access to gear, your initial costs will be even lower.
At a minimum, you need a way to store gear on your bike, a sleep system, food, and basic rain gear.
Store Gear On The Bike
The Bikepacking 101 series has a post on different ways to store gear on the bike. For budget bikepacking, I’m going to focus on the handlebar bag and the seat bag. These will work with any bike setup and allow you to store most of your gear on the bike.
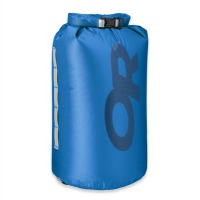 Companies like J.Paks and Revelate Designs make specific bags to attach to your handlebar and seat post. Eventually, you will want one of these for convenience, but you don’t need one to start. Instead, you can get a dry sack (10L – 20L in size) and attach it to the bike with straps or even bungee cords.
If you need additional storage for gear, a hydration pack or even a simple backpack will work. Remember, this is not a final bikepacking setup for a week long trip. It’s a simple and budget friendly setup.
- Compression/dry sack ($10-$30 at Campmor.com or REI.com)
- 2 Straps to attach compression sack to handlebars ($3-$8 at Campmor.com orREI.com)
Sleep System
 If you have not done any backpacking in the past and you don’t have access to borrow gear, this is the one area where you will have to spend some cash.
Some bikepackers spend from $500-1000 on an ultralight system, but you can put together a full budget bikepacking system for around $150. It won’t be the lightest or smallest when packed away, but it will work.
To build a complete sleep system, you’ll need a sleeping bag, sleeping pad, shelter, and a ground cloth.
Sleeping bag – If you have an old sleeping bag, even a cheap bulky one, use it. Using a compression sack allows almost all sleeping bags to compress enough to fit on a bag attached to your handlebars. New sleeping bags can be purchased for under $100 when on sale. Backcountry.com has several synthetic bags in the $70-100 range.
Sleeping pad – The cheapest option is a foam pad. These pads run anywhere from $10-30. Personally, I prefer inflatable pads, but they cost quite a bit more and don’t fit into a budget bikepacking gear list.
Shelter – This may come down to personal preference and if you are comfortable sleeping in something that’s not a fully enclosed tent.
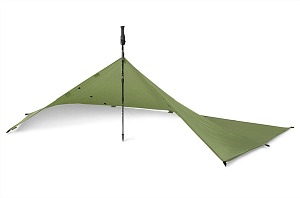
One option is to go with a poncho tarp that converts from a rain poncho into a tarp. It’s not spacious and it doesn’t keep the bugs out, but it’s light and budget friendly. GoLite and Campmor have poncho tarps for $60.
A second option is to go with a bivy sack. A bivy is just a water resistant cover for your sleeping bag. They do protect from bugs better than a tarp because they have bug netting at the head area. The drawback of a bug netting is that you are not fully protected from a rain. Borah Gear is a cottage gear maker that has some great bivy options. Their basic bivy runs $70.
Ground Cloth – The final piece of the sleep system is a ground cloth to protect your gear from wet ground and rain. You could go no cost by using a couple of large trash bags. For a commercial option, the $10 Gossamer Gear polycro ground sheet is a good option.
This only covers the basics, but an entire post or series of posts could be made about sleep systems.
Total gear cost – $150 – $210
Food/Water
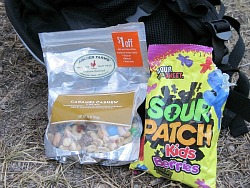 This is the fun part of bikepacking. You can eat whatever you want when you’re riding all day. Instead of purchasing and carrying a camp stove, go with no cook meals. This keeps it simple and free which is ideal for budget bikepacking.
For an single overnight trip, pick whatever foods you enjoy. It’s one dinner and one breakfast so go for the good stuff. Nuts, wax covered cheese, Clif bars, trail mix, bagels, Snickers, crackers, Nut rolls, or anything else you want.
Carry water for bikepacking the same way you carry water for normal rides. If you are a hydration pack fan, use that. For bikepacking, just make sure you can carry enough water for the entire trip or identify a location where you could refill during the ride.
Total gear cost – $0
Clothing
Keep it simple and don’t bring an extra pair of clothes. You’ll stink on the second day, but stink never hurt anyone. Do pack a basic cycling rain jacket, arm warmers, and knee warmers for rainy or cool weather. These are the basics for a summer overnight trip, but another long sleeve layer or extra socks might be good to carry. Again, the mantra here is to wear whatever clothing options you have and to not buy any clothing related items.
Total gear cost – $0
Misc Gear
Don’t go bikepacking without some sort of first aid and emergency gear. There are plenty of options – make your own kit at home, one of the traditional Adventure Medical Kits, or even the Pale Spruce kits. It doesn’t matter where you get it from, but make sure you carry something.
You may also need some water purification tablets or filter if you will be refilling your water during the trip.
Total gear cost – $10 – $40
Go Bikepacking!
There you have it. A way to get into bikepacking for around $200. Obviously if you already have gear or can borrow some from a friend, you could easily get into bikepacking for under $100. But be warned, once you try bikepacking, you’ll want to keep going and upgrade to a more lightweight and efficient gear kit.
The first upgrade that should be required is some sort of coffee making option. I can’t believe I wrote a bikepacking post that didn’t include the ability to make coffee. I won’t let that happen again.
