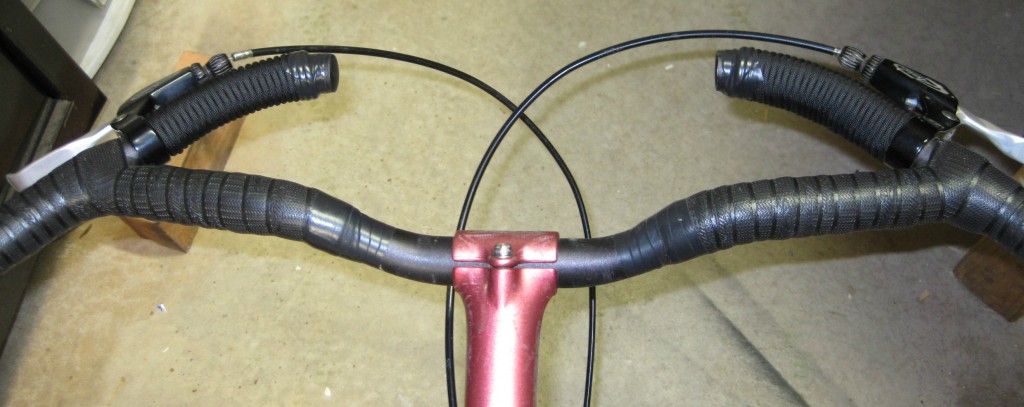
This was a quick project to get 10-20 feet of paracord onto the bike for bikepacking while also providing a better grip surface for the extensions on the handlebar.
The idea for the bar wrap came from looking at several videos of other people wrapping knife handles, flashlights, or other objects.
Maybe it’s due to watching too many Rambo movies and playing with a survival knife in the backyard as a kid, but having some extra paracord on the bike for those “Just Riding Along” events seems like a good idea. Plus, the paracord performs double duty as bar tape for the H Bar extensions.
The wrapping technique used came from the following video. It has much more detail and information than the pictures below.
Wrapping the Bar
This project was completed with Black Rothco 550 Paracord. It can be found at Camping Survival, Amazon, or other survival type stores. For a handlebar wrap, estimate at least 2 feet of cord for each inch of bar to be wrapped. Each side of this project contains approximately 9 feet of cord.
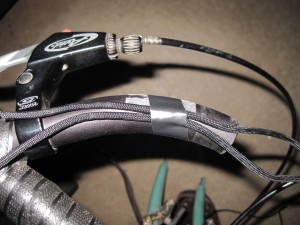
Step 1 – Make a loop
The loop end should be on the end of the bar where you will finish your wrap. If this is your first wrapping, let the end of the loop extend 1-2 inches past the edge of the bar. This makes it easier to tie off the wrap in the later steps. The tape was used to hold the cord in place for the picture, but is not needed for the wrap. Keeping the tape in place would mess up the final steps to tighten up the ends.
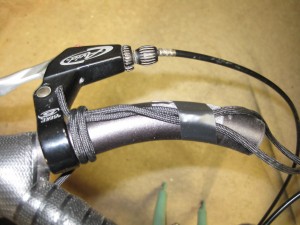
Step 2 – Wrap
With the loop in place, begin wrapping the cord around the bar. Leave at least an inch of the cord end sticking out from under the wraps. Keep each wrap tight against the previous one and pull the cord tight around the bar.
Step 3 – Tie off wrap
When you get to the end of the bar, instead of wrapping the cord over the loop, pass the free end through the loop that was made in step 1. When the loop is pulled tight in the next step this will tie off the loose end of cord.
Step 4 – Tighten loop
Hold the end of the wrap you just finished with one hand. Use a pair of pliers to pull the other cord end that is under the wraps (it may be very tight and hard to pull). As you pull this end, it will tighten the end loop and also compress the wraps much tighter. Pull several times on the end to make sure you have the loop very secure.
Step 5 – Cut off excess cord
Once the wrap is tight, trim off any excess cord. Do not make the mistake of cutting the cord too close to the wrap. You can always shorten the ends later. After cutting the ends, melt them with a lighter to prevent them from fraying.
Step 6 – Tape end
This step is optional, but you may want to use some electrical tape on the loop end of the wrap. This will prevent the cord end from working its way loose.
Step 7 – Go ride
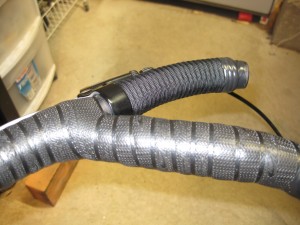
Enjoy the new paracord wrapped bar and go for a ride.
Other Options
There are plenty of other knots and wrapping techniques that could be used. The one below looks interesting because it would provide a wider grip area and may be a little softer on the hands.
You can also look at knife blade wrappings and apply those to your handlebar, frame tubes, seat tube, rear rack, or any other place on the bike where you may want to wrap your paracord.
That’s a wrap (very very bad pun).


