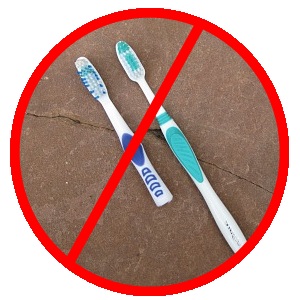
Trying to save weight by cutting the end off of a toothbrush is the wrong way. We’ve probably all been there, but there are much more effective ways to save large amounts of weight in your bikepacking setup. And they can be done with little to no cost.
1. Stove
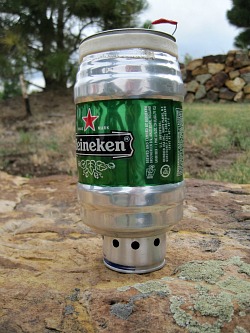
For a 1 or 2 night trip, leave the stove behind. If coffee is a must in the morning, make an ultralight camping coffee setup. This is the easiest way to save weight without having to spend any money on lighter gear. Plus there is a lot less to pack – no large fuel bottle, no traditional stove, and no pots or pans.
Cost: $0 – $15
Weight Savings: 16 ounces, probably more
2. Rain Gear
You don’t need an expensive rain jacket for bikepacking, especially if you live in the western states where you typically get afternoon thunderstorms but not a full day of rain. If you already have a cycling rain jacket, use that and don’t worry about buying an “official” backpacking rain jacket.
If you wanted to make your own jacket, the Gossamer Gear blog has a couple of posts on turning a set of Tyvek coveralls into a rain suit. The Tyvek rain suit is not as durable as a high end jackets, but it works and it will keep you out of the rain.
A third rain jacket option is a wind shirt. While they are not fully waterproof, they do provide enough protection from occasional rain. Check Backcountry.com for sales. Currently, they have a Stoic wind shirt that weighs 2.5oz for $69. Not exactly cheap, but much cheaper than a full rain jacket.
For summer bikepacking, don’t worry about rain pants. Pants do not breathe and if worn when cycling, you end up soaked from sweat almost as much as you would get soaked from the rain.
Cost: $0-75
Weight Savings: 6-10 ounces
3. Layers
Wear all of your layers when sleeping. If it’s not something you wear when sleeping, it doesn’t need to be packed. For your top, pack 1 sleeveless or short sleeve undershirt, a long sleeve base layer, cycling jersey, and an insulating layer. For the legs, pack 1 pair of cycling shorts, and leg warmers or lightweight tights. Also pack gloves and a warm hat. Any items outside of this list can be left at home.
These layers along with a rain jacket should provide warmth down to the low 40s or even into the 30s.
As a bonus, this approach will allow for a lighter weight sleeping bag/quilt because your layered clothing will provide extra warmth when sleeping. Packing less clothes and a lighter sleeping bag can result in several pounds of savings.
Cost: $0, assuming you have all the layers
Weight Savings: 8 ounces at least, not counting savings from a lighter bag
Totals
Cost: $0 – 80
Weight Savings: 32 ounces or more
These 3 simple steps result in a savings of over 2 pounds on your setup. Depending on the cycling gear you already have, you could save this weight for zero cost or under $25. Either way, that’s a very small price for such a large weight savings.
Ultralight bikepacking doesn’t have to cost an arm and a leg. A lot of moving towards ultralight bikepacking is taking a minimalist approach and just bringing less crap, not spending tons of money on expensive crap.


